and then i decided to go back to the fabric store and get more fabric and dye and do another color...i decided on pink...

this time i got some of the off-white color to see how it would dye, that is what i used for the pink one.

i used the same process as i described before, here it is wet, i used RIT petal pink for this. it always looks darker when it's wet, here i think it looks kind of coral, but this is at night as well.

here it is dry, the next day

and here are the two i gave as gifts, finished edges. i just turned the edges under twice and zigzagged them. they are light and airy blankets, just right for a summer baby:) hope my friend enjoys them. (and although the purple looks bigger, it's not, just not folded as tight. also, the thread i used on the purple was actually an apple green, not olive like it looks in the pic:)
and here's a thingamabob that i saw at DI one day and couldn't leave there. it was $4, i am assuming it used to be some kind of jewelry display rack or something.

it rotates around, really smoothly actually even though it's got some rust.

see the rust? (and my messy counter...yep, keeping it real)

here it is after i primed with Kilz, my fav primer

then i used leftover spray paint, two different shades of gray, one valspar and one rustoleum i believe. the rod that goes in the middle, is darker than the "cage" with all the racks.
and what did i use it for????
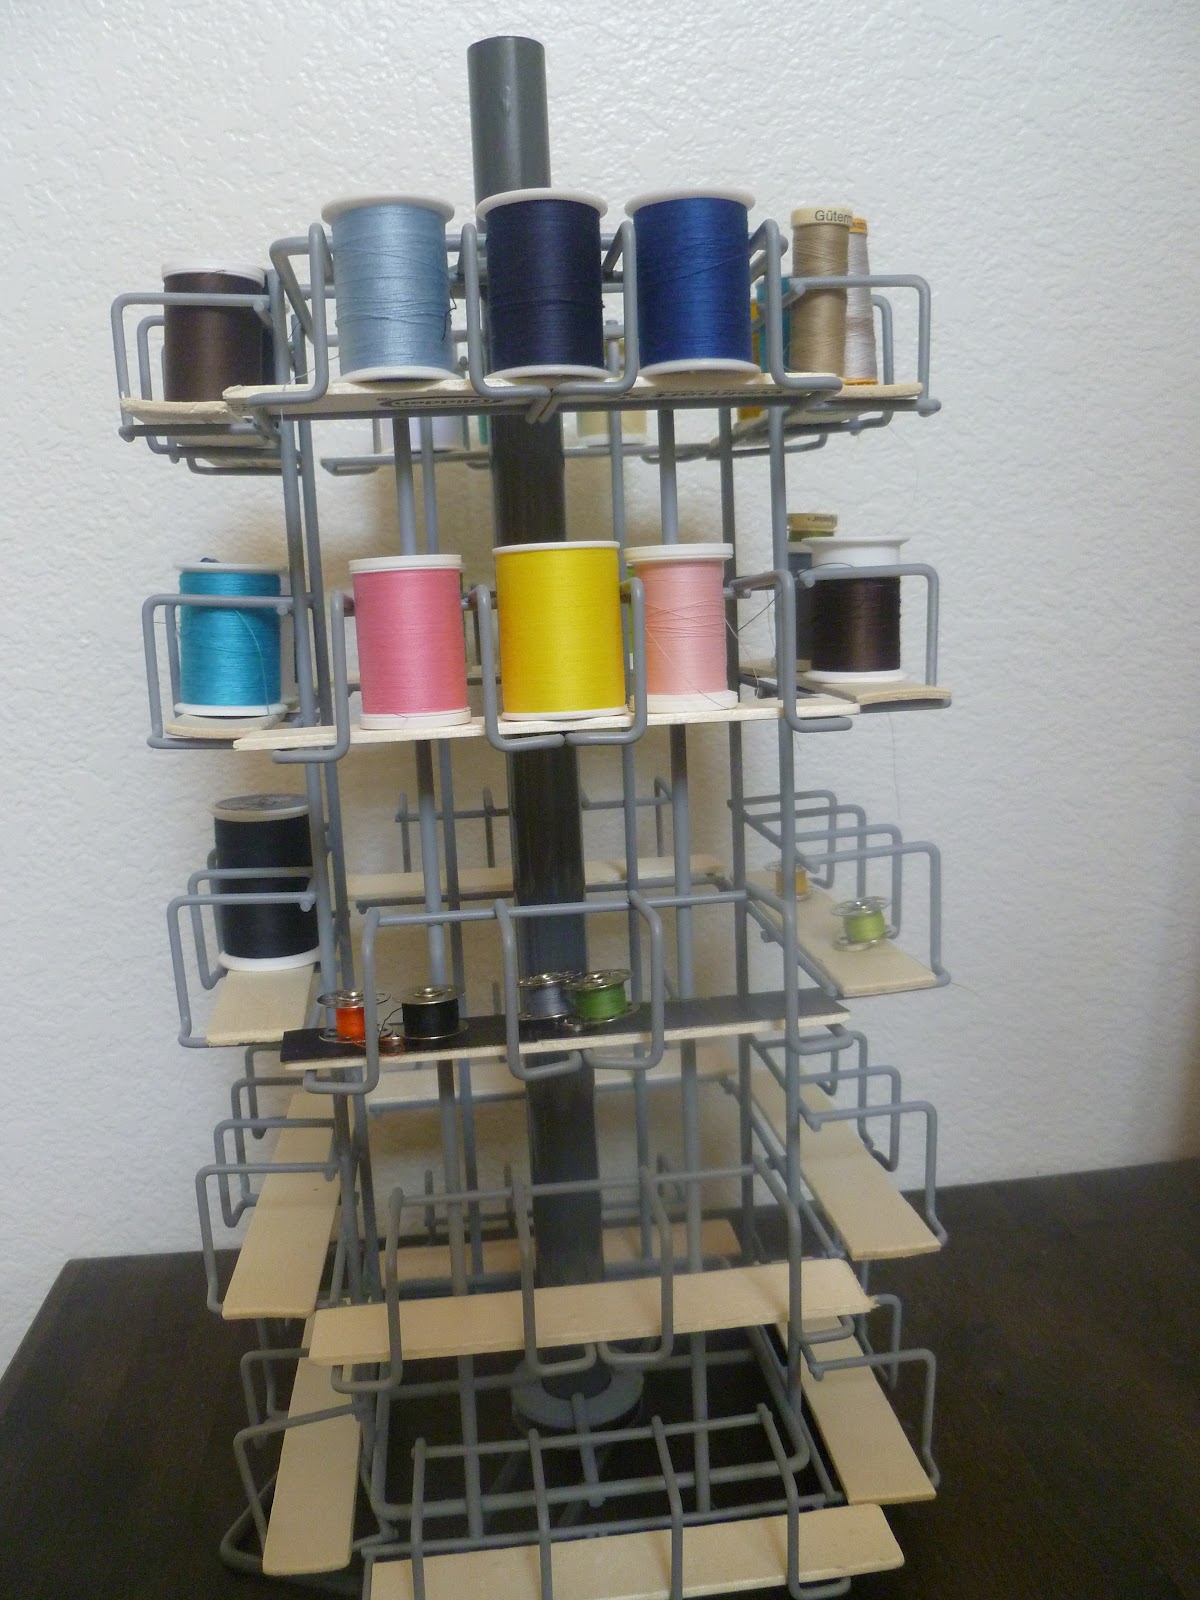
a THREAD HOLDER!!! i spruced up a spice rack here to hold thread, but it wasn't super functional for me, so i decided to do this instead. i used paint sticks (from walmart) and cut them down with junky scissors to the length i wanted (in this case, the racks were about 6 inches long so i cut them to 6 1/4 inches), and just laid them down on the racks. because they over hang the rack, i didn't need to secure them onto the racks. then i just set my thread up on them! i love that it spins!

this was a fantastic idea i saw online somewhere, sorry i can't give a reference, but using magnets to keep bobbins in place, not strewn about. i first tried just thin magnets (old magnetic business card type things) and they weren't strong enough for the bobbins. then i found i still had some of these SUPER strong, small magnets so i glued those onto the sticks (if i didn't glue them on, they would make a bid for sticking to the rack instead of the bobbin!).

here are two of the bobbins sharing a magnet....ah....so nice:)
i am excited about my new thread holder! and i have room to grow...always a great thing! and it only cost $4, since i had the paint and magnets and the paint sticks are free.
yahoo!
2 comments:
That looks like some kind of cool. It definitely looks interesting. I had no idea what you were to going to spruce it up into. You are so creative!
Cute thread holder! I need to make one of those blankes for syd bc she loves to b tucked in all tight still but it is too hot!
Post a Comment